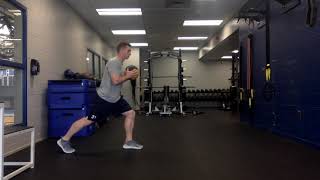
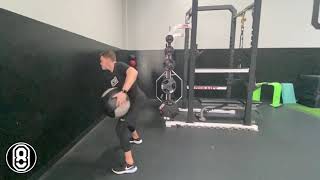
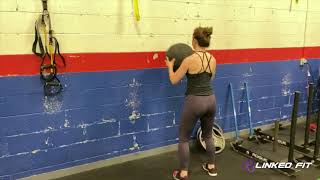
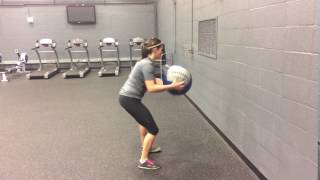
Media Summary: Step 1: Begin in an athletic position with a Visit our website: Follow us on Instagram: This video is about Linked Fit: Movement Technique Video.

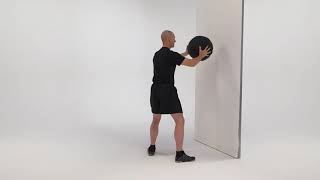
Mb Alternating Wall Throws - Detailed Analysis & Overview

Step 1: Begin in an athletic position with a Visit our website: Follow us on Instagram: This video is about Linked Fit: Movement Technique Video. Reactive Medicine Ball Alternating Base Stance Hip Height Wall Throws Alternating Medball Wall Throws; Standing on Bosu Reactive Medicine Ball Alternating Drop Step Hip Height Wall Throw

Photo Gallery

MB Alternating Wall Throws
Alternating Split Stance MB Wall Toss
Standing Medicine Ball Alternating Front Throw
Standing Alternating Recoiled Overhead Med Ball Throw to Wall
Medicine Ball Alternating Front Rotational Throw
Movement: MB Standing Wall Chest Throw (Reactive Ball)
Reactive Medicine Ball Alternating Base Stance Hip Height Wall Throws
Alternating Medball Wall Throws; Standing on Bosu
Reactive Medicine Ball Alternating Drop Step Hip Height Wall Throw
Facing Wall MB Alternating Hip Toss
Medicine Ball Drill 1 Exercise 2 - Alternate Side Arm Wall Throw
MB alternating horizontal throw
View Detailed Profile
MB Alternating Wall Throws

MB Alternating Wall Throws

MB Alternating Wall Throws

Alternating Split Stance MB Wall Toss

Alternating Split Stance MB Wall Toss

Alternating Split Stance MB Wall Toss

Standing Medicine Ball Alternating Front Throw

Standing Medicine Ball Alternating Front Throw

Step 1: Begin in an athletic position with a

Standing Alternating Recoiled Overhead Med Ball Throw to Wall

Standing Alternating Recoiled Overhead Med Ball Throw to Wall

Visit our website: https://www.bullettgym.com/ Follow us on Instagram: https://www.instagram.com/bullettgym/

Medicine Ball Alternating Front Rotational Throw

Medicine Ball Alternating Front Rotational Throw

Face the

Movement: MB Standing Wall Chest Throw (Reactive Ball)

Movement: MB Standing Wall Chest Throw (Reactive Ball)

This video is about Linked Fit: Movement Technique Video.

Reactive Medicine Ball Alternating Base Stance Hip Height Wall Throws

Reactive Medicine Ball Alternating Base Stance Hip Height Wall Throws

Reactive Medicine Ball Alternating Base Stance Hip Height Wall Throws

Alternating Medball Wall Throws; Standing on Bosu

Alternating Medball Wall Throws; Standing on Bosu

Alternating Medball Wall Throws; Standing on Bosu

Reactive Medicine Ball Alternating Drop Step Hip Height Wall Throw

Reactive Medicine Ball Alternating Drop Step Hip Height Wall Throw

Reactive Medicine Ball Alternating Drop Step Hip Height Wall Throw

Facing Wall MB Alternating Hip Toss

Facing Wall MB Alternating Hip Toss

Facing Wall MB Alternating Hip Toss

Medicine Ball Drill 1 Exercise 2 - Alternate Side Arm Wall Throw

Medicine Ball Drill 1 Exercise 2 - Alternate Side Arm Wall Throw

ACFT

MB alternating horizontal throw

MB alternating horizontal throw

MB alternating horizontal throw