Media Summary: This one was a bit tough to get through on my first go-around, but knowing where everything is made it go by quite quickly all in all ... A really coold void-themed level, actually. I think some of the Things begin to get a bit hard around this
Gzdoom Hellbound Final Doomer Map - Detailed Analysis & Overview
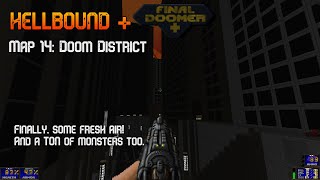
This one was a bit tough to get through on my first go-around, but knowing where everything is made it go by quite quickly all in all ... A really coold void-themed level, actually. I think some of the Things begin to get a bit hard around this A brief trip back to the surface before going back underground, with a lot of monsters in the way. Has a very cool subway stop. Forced inventory reset or not, I quite like this