Media Summary: Second part of this little campaign I forgotten about. Second map of Spindleshank's new campaign. MAP ID: L22F4658. Second and final part of the second map from Spindleshank's new campaign. MAP ID: L22F4658.
Doom Snapmap Live Commentary 2 - Detailed Analysis & Overview
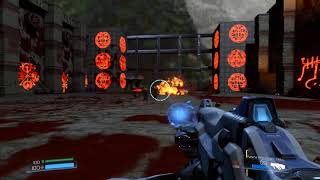
Second part of this little campaign I forgotten about. Second map of Spindleshank's new campaign. MAP ID: L22F4658. Second and final part of the second map from Spindleshank's new campaign. MAP ID: L22F4658. This map was obviously unfinished, but man those lighting work was awe-inspiring! The final part of this fun Pigdog map! Really enjoyed playing it. Map seems like it need some balancing issues and it also seems kind of broken at the same time.
In this video, the second map reveals a lot of the suspense from the first map and it includes a bit of Limp Bizkit references.